


As a professional photographer, capturing the perfect shot is just the beginning of the creative process. Editing photos is an essential step that can make all the difference in elevating the final product. From adjusting lighting and color to removing distractions and enhancing details, editing allows photographers to bring their vision to life and create a truly stunning image. In this article, I’ll be sharing my personal editing process and techniques that I’ve honed over years of experience. Whether you’re a professional photographer looking to fine-tune your skills or an amateur wanting to learn more about editing, this guide will provide valuable insights into how to perfect your shots and take your photography to the next level. So, grab your camera and let’s dive into the world of photo editing!
My Go-To Photo Editing Software
When it comes to photo editing, there are dozens of software options available in the market. However, my go-to software is Adobe Lightroom. Lightroom is a powerful editing tool that allows you to organize your photos, make adjustments, and export them in various formats for different platforms.
One of the advantages of Lightroom is its non-destructive editing feature. This means that the original image file remains intact, and all the changes made during editing are saved as separate instructions. This allows you to go back and make adjustments to the original file without losing any quality.
Lightroom also provides a wide range of features, including color correction, exposure adjustments, noise reduction, and even lens correction. It’s a versatile tool that can help you create stunning images regardless of what type of photography you specialize in.
Basic Photo Editing Techniques
Now that you understand the importance of photo editing and have the right software, let’s dive into some basic editing techniques that can help you enhance your photos.
**Cropping:**
Cropping is the process of removing unwanted elements from the image by adjusting its boundaries. Cropping can help you focus on the subject, remove distractions, or even change the aspect ratio of the image. When cropping in on details, you can also create a lot of variety form photos in your gallery that would have otherwise been almost identical or culled out because of an imperfection, liked closed eyes!
**Exposure adjustment:**
Exposure refers to the amount of light that enters the camera sensor when you take a picture. Adjusting the exposure can help you brighten or darken the image, depending on what you want to achieve.
**Color correction:**
Color correction involves adjusting the color balance of the image to eliminate any color casts or incorrect hues. This can help you achieve a more natural or branded looking image.
**Contrast adjustment:**
Contrast refers to the difference between the light and dark areas of the image. Adjusting the contrast can help you make the image appear more dynamic and visually appealing.
**Sharpening, noise reduction and grain:**
Sharpening the image can help you enhance the details and make the image appear sharper or softer if you take away sharpness. Noise reduction, on the other hand, can help you reduce any unwanted grain or noise in the image. Adding grain to an image can create a vintage or film-like effect, adding texture and character to the photo.
Advanced Photo Editing Techniques
While basic editing techniques can help you enhance your photos, advanced techniques can take your editing skills to the next level. Here are some advanced photo editing techniques that I frequently use:
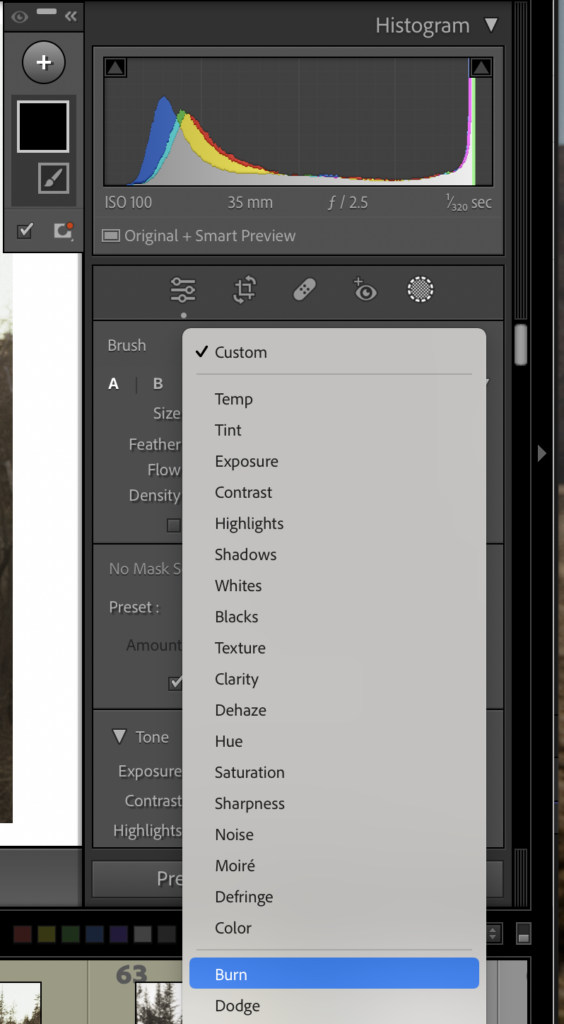
**Dodge and burn:**
Dodge and burn is a technique used by photographers to selectively brighten or darken specific areas of an image. This can help you create a more three-dimensional effect and draw the viewer’s attention to specific areas of the image.
In Adobe Lightroom, you can use the adjustment brush or the radial filter tool to apply dodge and burn adjustments.
- To dodge (brighten) an area, select the adjustment brush, increase the exposure slider, and paint over the area you want to brighten.
- To burn (darken) an area, decrease the exposure slider and paint over the area you want to darken.
- You can also use the radial filter tool to apply dodge and burn adjustments to specific areas of an image.
**Frequency separation:**
Frequency separation involves separating the high-frequency details of the image (such as skin texture) from the low-frequency details (such as color and tone). This can help you retouch the image without affecting the overall texture and quality. Although I don’t use frequency separation often, I have on occasion and prefer to do this in Photoshop.
- To use frequency separation in Photoshop, first duplicate the image layer, then apply a Gaussian blur to the duplicate layer.
- Next, add a layer mask to the blurred layer and paint over the areas where you want to preserve the texture, such as the eyes or mouth.
- Then, select the original layer and apply the High Pass filter to enhance the edges and details.
- Finally, adjust the opacity of the high pass layer to blend it with the blurred layer.
By using frequency separation, you can achieve a professional-level retouching result while maintaining the natural texture and quality of the image.
**Selective color adjustments:**
Selective color adjustments involve adjusting the color of specific areas of the image. This can help you create a more dramatic effect or highlight specific elements in the image.
- To use selective color adjustments in Lightroom, first select the adjustment brush tool and choose the color you want to adjust.
- Then, adjust the sliders for hue, saturation, and luminance to achieve the desired effect.
- Hue – Changing the hue of an image can have a significant impact on its overall appearance and mood. Hue refers to the color or tint of an image, and adjusting it can create a different color palette or mood. For example, shifting the hue towards warmer tones can create a more nostalgic or romantic feel, while cooler tones can create a more calming or modern look.
- Saturation – Changing the saturation of an image refers to adjusting the intensity of the colors in the image. Increasing the saturation can make the colors appear more vivid and vibrant, while decreasing the saturation can create a more muted or subdued effect. However, it’s important to use saturation adjustments sparingly, as over-saturating an image can make it appear unrealistic.
- Luminance – Changing the luminance of an image refers to adjusting the brightness or darkness of specific colors in the image. This can have a significant impact on the overall tone and mood of the image. For example, increasing the luminance of the red tones in an image can make the image appear more vibrant, while decreasing the luminance of the blue tones can create a more moody or dramatic effect.
- You can use the brush to paint over the areas where you want to apply the selective color adjustment.
- You can also use the radial filter or graduated filter tool to apply the adjustment to a specific area of the image.

Selective color adjustments can be a powerful tool to enhance the mood or composition of an image and create a unique and impactful final product.
**Adding or removing elements:**
Advanced editing techniques can also involve adding or removing elements from the image. This can be anything from removing unwanted objects to adding new elements through compositing.
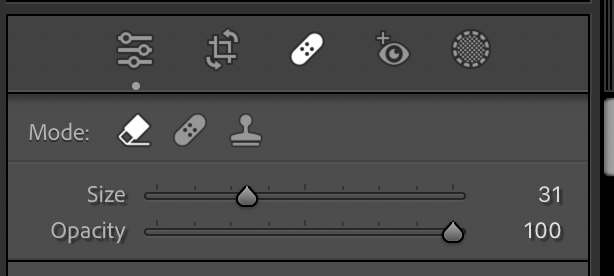
Removing items from a photo in Adobe Lightroom or Photoshop (my preference for hard to remove objects) can be done using the spot removal tool. This tool allows you to clone or heal areas of the image to remove unwanted items or blemishes.
- To use the spot removal tool, first select the tool from the toolbar or by pressing the Q key. Then, adjust the size of the brush to match the area you want to remove.
- For cloning, select the clone option and click on an area of the image to use as the source. Then, click on the area you want to remove to replace it with the cloned area.
- For healing, select the heal option and click on an area of the image to use as the source. Lightroom will then blend the source area with the surrounding pixels to create a seamless patch.
Repeat this process until you have removed all the unwanted items from the image. The spot removal tool in Lightroom is a powerful tool for removing unwanted elements from an image and can be used to enhance the overall look and feel of the photo.
Presets and Filters: To Use or Not to Use?
Presets and filters are pre-made adjustments that you can apply to your photos to achieve a specific look or style. While presets and filters can be a useful tool to save time and achieve consistency in your editing, they can also be overused, leading to a generic or artificial look.
In my opinion, presets and filters can be a useful starting point, but they should not be the only tool you rely on for editing. They can help you achieve a specific look, but you should also take the time to fine-tune the adjustments to suit your style and vision.
Tips for Maintaining Consistency in Your Editing
Maintaining consistency in your editing is crucial, especially if you’re working with multiple clients or platforms. Here are some tips that can help you maintain consistency in your editing:
**Create a style guide:**
A style guide can help you define your editing style, including color palette, tonality, and overall look and feel. This can help you maintain consistency across different platforms and projects. Psst… I’ll have a style guide coming soon on my Manifesting Photographer shop!
**Save your presets:**
Saving your presets can help you achieve consistency in your editing and save time. It also allows you to quickly apply the same adjustments to multiple images. You can save your presets for different lighting conditions or types of photography, making it easier to apply them in the future.
- To save your editing presets in Lightroom, first make the adjustments to an image that you want to save as a preset.
- Then, click on the “Presets” panel in the left-hand sidebar and click the “+” button to create a new preset.
- Give your preset a name and select the settings that you want to include in the preset, such as exposure, contrast, and color adjustments.
- You can also choose to include specific tools like the crop tool or spot removal tool.
- Once you have selected the settings, click “Create” to save the preset.
- Your new preset will now appear in the “Presets” panel and can be applied to other images by simply clicking on the preset.
By saving your editing presets in Lightroom, you can streamline your workflow and achieve consistent results across multiple images!
**Take notes:**
Taking notes during the editing process can help you remember the adjustments you made and the thought process behind them. This can help you replicate the editing process in the future.
How to Create Your Own Unique Editing Style
Creating your unique editing style takes time and experimentation. Here are some tips that can help you develop your editing style:
**Study other photographers:**
Studying the work of other photographers can help you understand different editing styles and techniques. This can inspire you to experiment with new techniques and develop your style.
**Experiment with different techniques:**
Experimenting with different editing techniques can help you develop your style and find what works for you.
**Don’t be afraid to take risks:**
Don’t be afraid to take risks and try new things. This can help you develop a unique style and stand out from the crowd.
Conclusion
In conclusion, photo editing is an essential aspect of photography that can significantly impact the final product. By understanding the importance of photo editing, using the right software, and applying basic and advanced editing techniques, you can elevate your photos and create stunning images.
Whether you’re editing photos for social media, websites, or print materials, it’s essential to consider the platform’s requirements and adjust your editing accordingly. Presets and filters can be a useful tool, but they should not be the only tool you rely on for editing.
Maintaining consistency in your editing can help you achieve a professional look and feel across different platforms and projects. Finally, developing your editing style takes time, experimentation, and taking risks. By following these tips and techniques, you can create your unique editing style and take your photography to the next level.


be the first to comment